
Say Goodbye to Boring Walls: 15 Drywall Texture Options That Reflect Your Unique Style
Have you tried updating your home with all manner of appealing decor, but still your walls seem nauseatingly plain? Do all your efforts leave something to be desired? You don’t have to be an artist to perceive the need for elements of interest in your home’s interior, but exactly what will supply the lack keeps eluding you.
Have you considered changing the texture of your drywall? This simple change creates a powerful aesthetic effect that is nevertheless subtle and comforting to the eyes. Benson Drywall discusses some of the most popular options for drywall textures and the factors that influence which texture you choose. Read on to learn how you can make plain walls more appealing.Table of Contents
How Do I Choose the Right Type of Drywall Texture for My Space?
-
- What size is the room? In smaller rooms, dramatic textures like the swirl may be too overwhelming, whereas the open space in larger rooms can easily accommodate such flourishes.
- What design style is intended for the room? If your home is rustic or traditional, deeper, more detailed textures (such as skip trowel or knockdown) may be effectively integrated. If your goal is a minimalist or modern look, it would be better to choose smoother textures, such as the sand spray or orange peel texture.
- How difficult will maintenance be? Some smooth textures may be harder to clean than a completely flat surface because dirt gets trapped in the small indentations. Rough textures require gentler, perhaps more painstaking, cleaning techniques in order to avoid chipping the texture.
- What is your budget? Complex textures, such as lace and rosebud, require more time- and labor-intensive application and so are more expensive.
- What is your room used for? Some textures serve a purpose beyond just aesthetic. The popcorn texture, for example, helps to muffle sounds from neighboring rooms. In a room dedicated to children’s recreation, rough textures might be ill-advised, as they could chip if too much pressure is applied to the walls.

15 Types of Drywall Textures
#1: Smooth
Although this texture is the least “interesting,” it may require more skill than all the others. Whereas rough textures tend to help conceal imperfections, a smooth texture will not. On the contrary, if the surface is not made completely flat, it will be obvious.
The installer must be quite masterful to achieve perfect smoothness in level 5 drywall finishing (also called a skim coat). A smooth texture may require two layers of drywall mud (joint compound), both of which are smoothed and sanded to achieve a consistent finish.
This texture is popular in homes with minimalist designs. If you think you might want to add texture later, you can avoid the inconvenience and cost of removal of underlying texture by keeping it smooth for now.#2: Skip Trowel
The skip trowel texture requires some artistry to lay down, but it is fairly simple. After applying a layer of joint compound to the wall, the installer lays a clean, wet trowel at a very slight angle to the wall and passes all along the wall in random, repeated swirls or arcs. The trowel picks up and spreads bits of the joint compound into a haphazard, but attractive and unique, pattern.
The more joint compound is applied to the wall the more depth the texture will have. For thicker textures you can be a bit more aggressive with the trowel. The effect is dramatic sweeps with a blend of smooth and rough areas.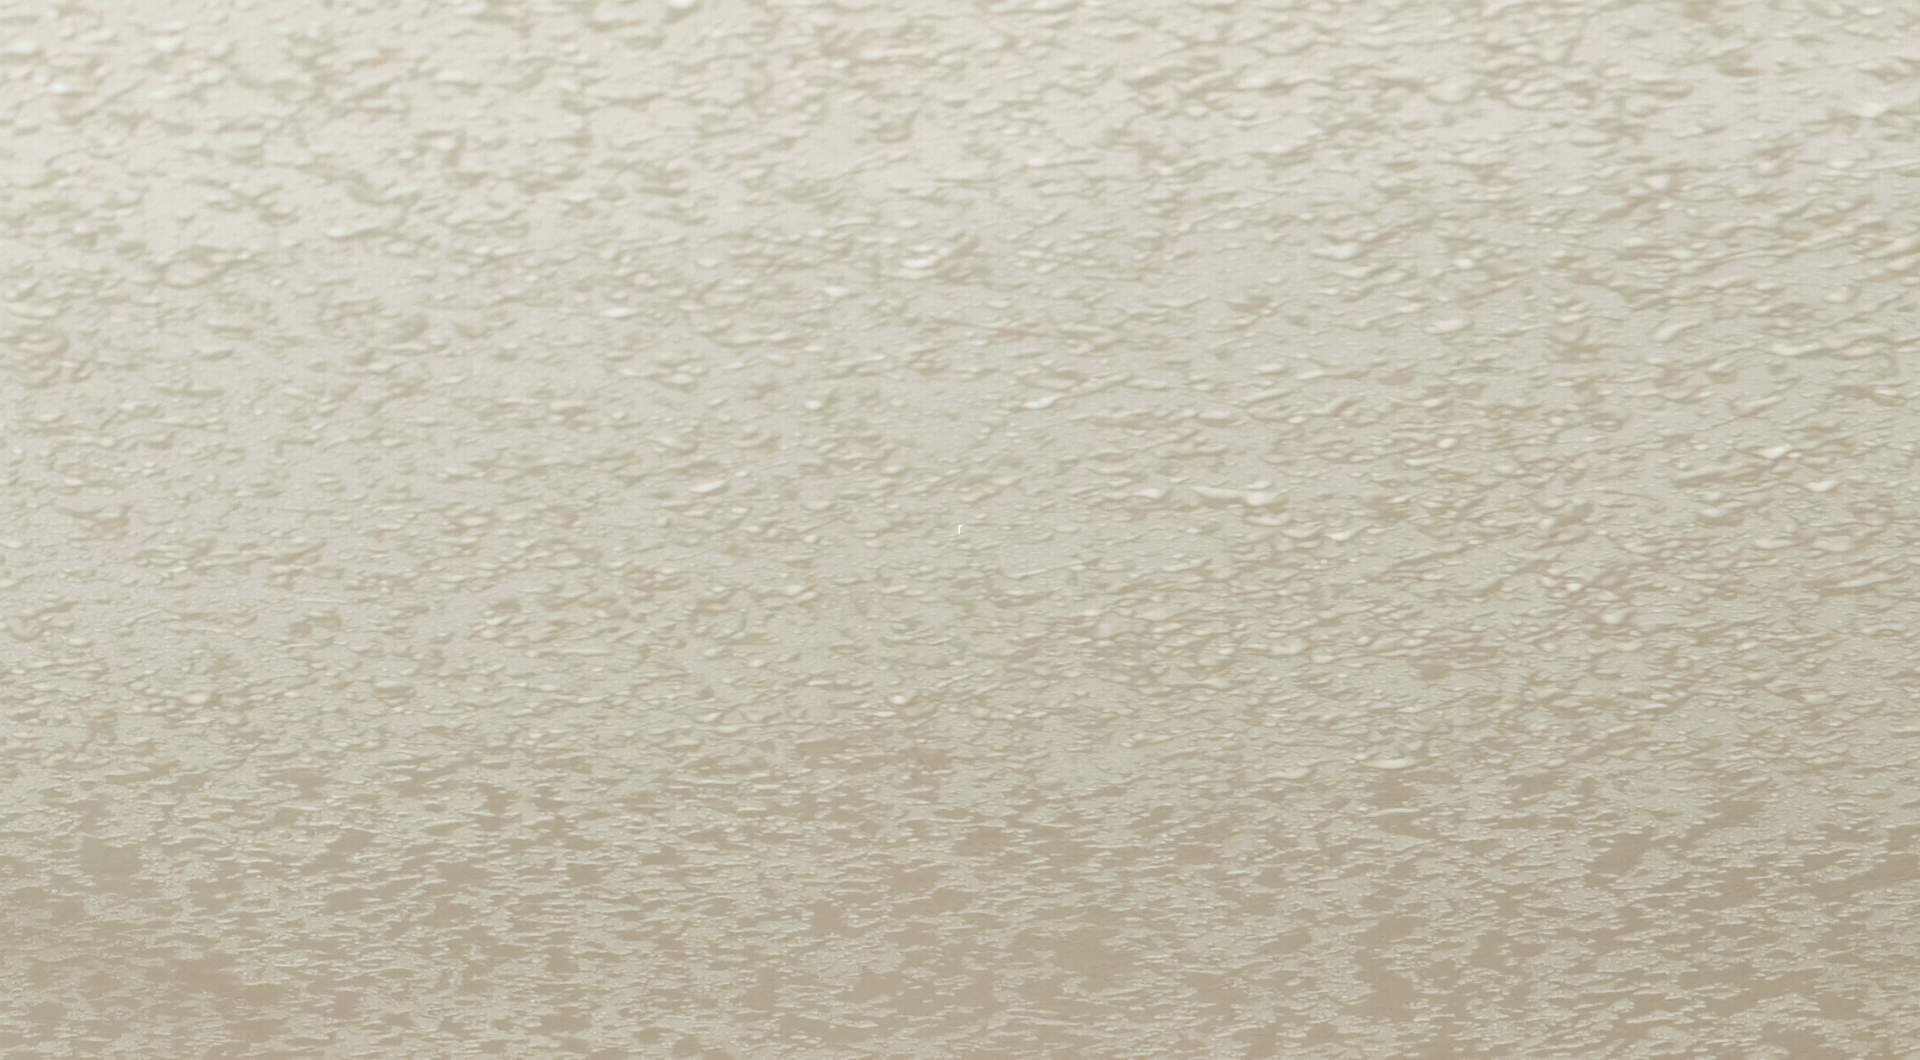
#3: Orange Peel
Orange peel texture resembles the slightly bumpy, wrinkled skin of an orange. You can choose from among three styles ranging from fine (smoother) to heavy (bumpier). A professional can apply texture using a hopper gun about 1.5 feet away from the wall, or you can DIY by purchasing a spray can and following the instructions for application.
Though harder to clean than other textures, orange peel texture is relatively inexpensive and effective at hiding imperfections on your walls.#4: Popcorn
The popcorn texture is most known for its use on ceilings in many North American homes. Its name comes from its knobby protrusions that resemble popcorn. Easy to install, this texture easily hides blemishes and repaired areas. Similar to an orange peel texture, it is applied using a hopper, but it features a large nozzle suitable for emitting the joint compound along with small pieces of polystyrene to achieve the puffy texture.
Removal may not be so straightforward, however. It must be scraped, soaked, and replaced with a new finishing surface. If the texture was applied before the 1980s, it likely contains asbestos. If this is the case with your ceiling, instead of removing the texture, it should be encapsulated to prevent asbestos from being released into your home.#5: Knockdown
- Apply the texture: This can be done with a paint sprayer or roller, but the joint compound must be mixed with water to make it light enough to coat the whole roller.
- Stomp the applied joint compound: Press down on the wet compound with a stiff brush, a trowel, a sponge, or even a plastic bag. The goal here is to deepen the texture in random, spread-out areas.
- Knock it down: Use a drywall knife, skimming blade, or specialized knockdown tool for this step. Very gently drag it across the surface to remove the peaks of the stomped texture.
#6: Swirl
- The brush is dipped in the joint compound to “paint” the texture onto the wall.
- Wet joint compound is applied to the whole area, then a thick bristled brush is moved in a swirl motion over it.
For both methods, every successive swirl slightly overlaps the preceding one. Depending on your preference, this texture can be applied in a pattern of half discs, overlapping Cs, or spirals.
The deeper you want the swirl “ridges” to be, the thicker you should make the compound; for shallower ones, you’ll want to mix more water with the compound to make it soupy.
#7 Trowel Swirl
#8: Stomp
This texture has been around a long time, perhaps because it’s so easy — even enjoyable — to apply. After laying down a skim coat of drywall, you simply dip a long-bristled stomp or panda paw brush into a bucket of joint compound with the consistency of pancake batter. Then dab it repeatedly against the surface, pulling it back sharply each time, giving it a twist or a turn as you do.
The result will be a texture with distinct ridges distributed randomly across the surface. If you prefer, though, you can create a pattern as orderly as you like. This texture — with its jagged edges — is not appropriate for walls but rather for ceilings, where they will not be damaged by passersby.
Although anyone can apply this texture, you may appreciate the experience and technique of a professional like Benson Drywall.#9: Stippled/Slap Brush
This texture is similar to the stomp texture but with shallower and less bold ridges. Joint compound is applied with a roller and then a stipple brush is pressed into the surface. The more pressure you use, the deeper the ridges will be.
Although this texture is easy to touch up, its many ridges allow dust and cobwebs to accumulate, making it harder to clean.#10: Lace
- Apply the joint compound in a circular pattern with a specialized brush.
- Spray the joint compound onto the wall, then knock it down by skimming the top lightly with a trowel with a swirl-like motion.
#11: Spray Sand
The spray sand texture consists of joint compound, water, or primer mixed with sand and is sprayed with a hopper gun onto the surface — usually a ceiling, but walls are also permissible. Spray sand texture is sprayed through the hopper’s smallest holes. The result is somewhat like the orange peel texture, but without cracks.
This is an ideal texture for homeowners who want more character on their walls but don’t want to make the room seem smaller, as is often the case with heavier textures.#12: Venetian
#13: Rosebud
#14: Comb/Fish Scale/Fan
All these names refer to the same technique of using a toothed or notched trowel to apply joint compound to the wall or ceiling, creating a texture resembling fish scales or half fans. As the trowel is dragged purposefully across the surface, the teeth leave grooves in the finish in as simple or as intricate a pattern as you like.
This is a decorative and highly customizable texture that is easy to repair, depending on your ability to replicate the installer’s style.
#15: Tree Bark
The tree bark texture resembles, of course, tree bark, so it’s great if you’re going for a natural look, such as in a cabin or lodge. It is simply rolled onto your walls or ceiling with a special bark-patterned roller. The long, deep grooves collect dust, but the occasional wipedown is worth it — this texture is great for hiding scratches and dents and lends the room a natural, cozy feel.
The paint color you use will ultimately determine the atmosphere created by this texture. White paint will make it resemble birch bark, but a richer, brown tone will make it feel more woodsy.Benson Drywall: Your #1 Drywall Contractor in Portland, Oregon
Whatever texture you wish to apply to your walls to make for a more interesting and inviting home atmosphere, Benson Drywall can help. Besides helping to match textures, we offer the following services to our Portland community:
- Drywall installation and repair
- Ceiling repair
- Plaster repair
- Popcorn ceiling removal
Call us today for an estimate of the cost of your wall or ceiling texturing project.
